
Short answer: create a Python virtual environment, install Airflow with pip using the official constraints file, then run airflow standalone. Open http://localhost:8080 and log in as admin. Your password is saved in ~/airflow/simple_auth_manager_passwords.json.generated.
Apache Airflow is an open-source tool for building, scheduling and monitoring data pipelines. You write each pipeline as a Python file called a DAG (a set of tasks and the order they run in), and Airflow runs it on a schedule. Its web UI shows every run, log and failure.
 Apache Airflow logo
What changed since the original post (2023): Airflow is now on version 3. A single command,
airflow standalone, sets up the database, creates your admin user and starts everything. You no longer need to runairflow users createor Docker Compose just to try it out.
What do you need before you start?
- Python 3.10 to 3.14 on macOS or Linux. On Windows, use WSL2.
- A terminal and a few minutes. The install downloads a fair number of packages.
Step 1: Create a virtual environment
This keeps Airflow and its packages separate from the rest of your Python setup:
python3 -m venv airflow-venv
source airflow-venv/bin/activate
Step 2: Choose where Airflow keeps its files
export AIRFLOW_HOME=~/airflow
Airflow stores its settings, database and DAG files here.
Step 3: Install Airflow
Airflow needs a "constraints" file, so every package installs at a version that's tested to work together. These commands pick the right file for your Python version:
AIRFLOW_VERSION=3.3.2
PYTHON_VERSION="$(python -c 'import sys; print(f"{sys.version_info.major}.{sys.version_info.minor}")')"
CONSTRAINT_URL="https://raw.githubusercontent.com/apache/airflow/constraints-${AIRFLOW_VERSION}/constraints-${PYTHON_VERSION}.txt"
pip install "apache-airflow==${AIRFLOW_VERSION}" --constraint "${CONSTRAINT_URL}"
3.3.2 was the latest release when we wrote this. Check the Airflow releases page for newer ones.
Step 4: Check that it installed
airflow version
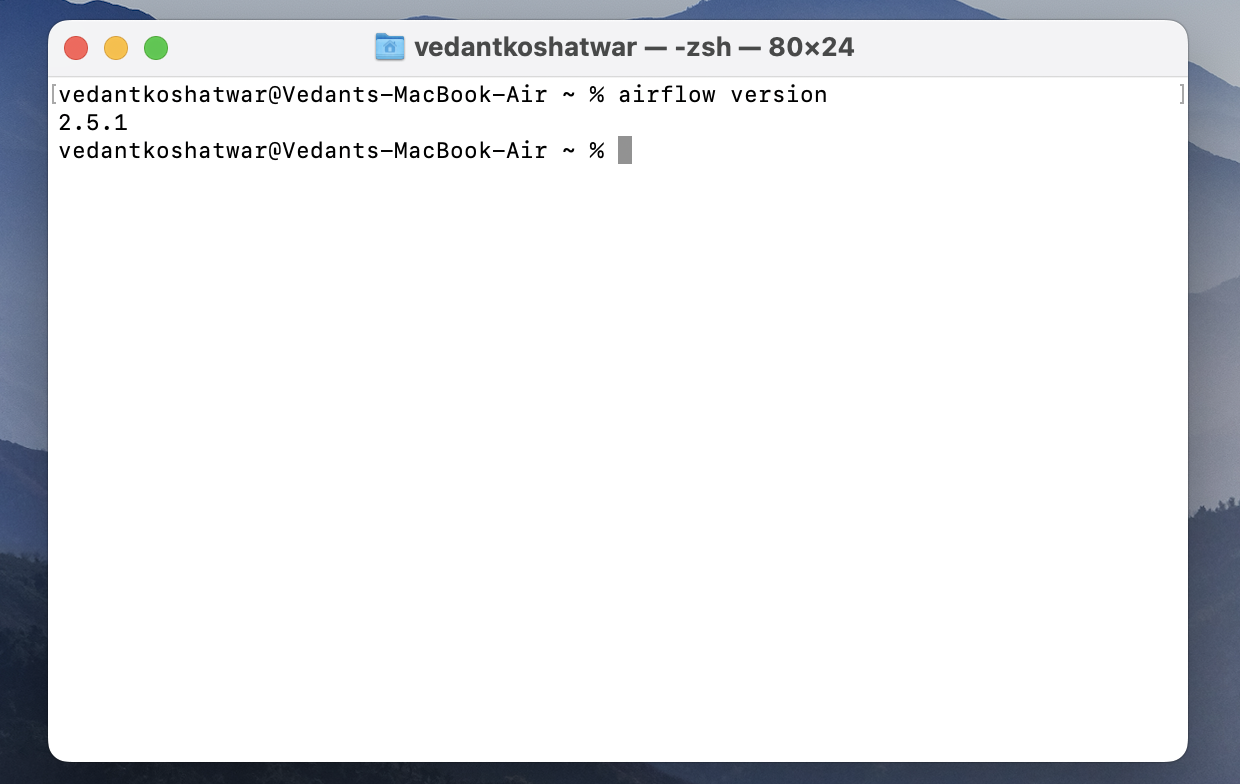 Terminal showing the output of airflow version
This screenshot is from the original post. Your version number will be 3.x.
Terminal showing the output of airflow version
This screenshot is from the original post. Your version number will be 3.x.
Step 5: Start Airflow
airflow standalone
This one command sets up Airflow's database, creates an admin user and starts all the parts Airflow needs. Leave this terminal window open while you use Airflow.
Step 6: Log in to the Airflow UI
Open http://localhost:8080. The username is admin. To see your password, run this in a new terminal window:
cat ~/airflow/simple_auth_manager_passwords.json.generated
After you log in, you'll see a list of example DAGs you can switch on and run.
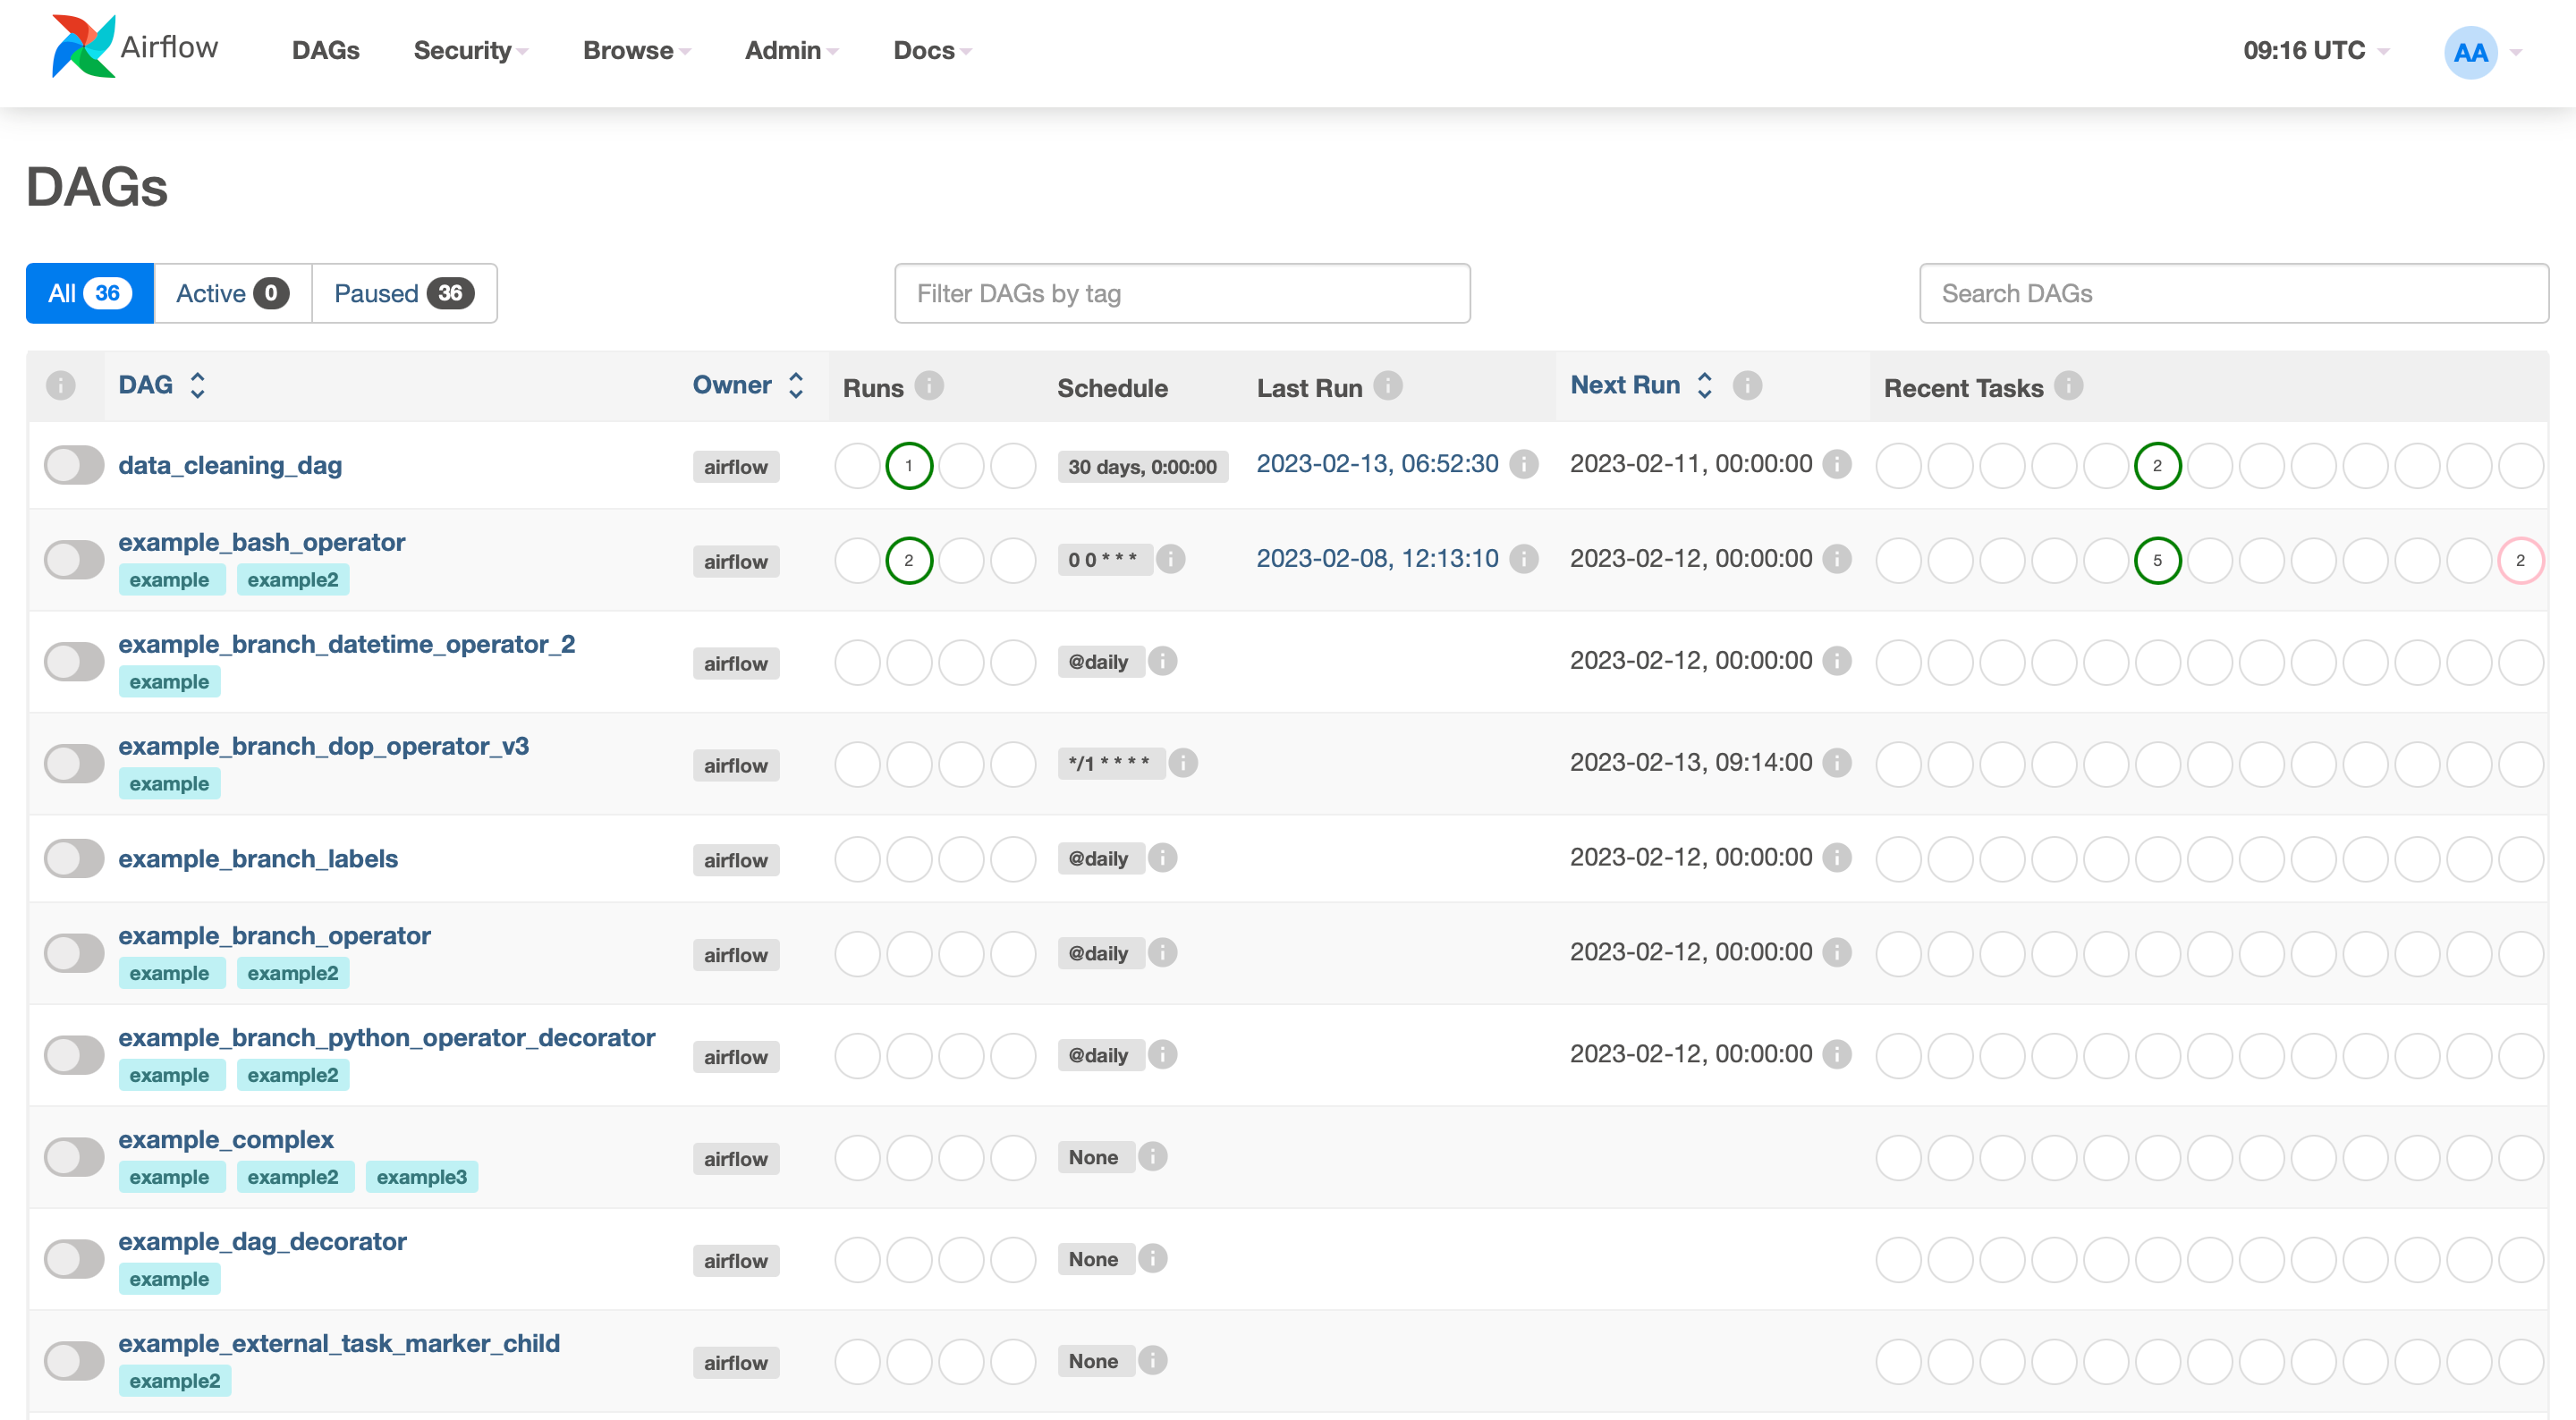 Airflow UI showing a list of DAGs
The DAGs list, from an earlier Airflow version. Airflow 3's screens look more modern, but they work the same way.
Airflow UI showing a list of DAGs
The DAGs list, from an earlier Airflow version. Airflow 3's screens look more modern, but they work the same way.
Step 7: Write your first DAG
Create a file at ~/airflow/dags/hello_newtuple.py:
import datetime
import airflow.sdk as sdk

@sdk.dag(schedule="@daily", start_date=datetime.datetime(2026, 1, 1), catchup=False)
def hello_newtuple() -> None:
    @sdk.task
    def say_hello() -> None:
        print("Hello from Airflow!")

    say_hello()

hello_newtuple()
After a short wait, hello_newtuple shows up in the UI. Switch it on and click Trigger to run it, then open the task's logs to see the message.
Common problems
- Pip shows version conflicts: install inside a fresh virtual environment and always use the constraints file.
- Port 8080 is already in use: stop the other app that's using it, then run
airflow standaloneagain. - Your new DAG doesn't appear: check that the file is in
~/airflow/dagsand has no Python errors. You can test it withpython ~/airflow/dags/hello_newtuple.py.
FAQ
Is Apache Airflow free? Yes. Airflow is open source under the Apache 2.0 license. Managed versions from cloud providers and vendors cost money.
What is the default Airflow login?
With airflow standalone, the username is admin and the password is generated for you. You'll find it in simple_auth_manager_passwords.json.generated, inside your Airflow folder.
Can I use airflow standalone in production?
No. It's meant for trying Airflow out and for local development. For production, use a proper database and a deployment such as the official Helm chart or a managed service.
Airflow or Dagster: which should I pick? Both schedule and run data pipelines. Airflow is the long-standing standard and has a huge set of integrations. Dagster puts data assets at the centre and has strong local development tools. Try our Dagster 5-minute guide to compare.
What to try next
Airflow is the scheduling layer of a modern data stack. Our other 5-minute guides cover the rest:
- Setup Airbyte in 5 minutes, to load data from your apps and databases
- Setup dbt Core on your machine in 5 minutes or less, to transform it with SQL
- Setup Dagster in 5 minutes, another way to orchestrate pipelines
- Modern Data Stack on your laptop, to see how it all fits together
Want help building reliable data pipelines? Talk to Newtuple.