Short answer: install the Lightdash CLI (brew tap lightdash/lightdash && brew install lightdash, or npm install -g @lightdash/cli), go to your dbt project folder, sign in with lightdash login https://app.lightdash.cloud, run lightdash dbt run to prepare your models, then lightdash deploy --create to publish your first project.
Lightdash is an open-source BI tool built for dbt. You define your metrics and dimensions once, as code in your dbt project, and business users explore that data and build dashboards in Lightdash without writing SQL. dbt transforms the data in your warehouse. Lightdash is how people explore it.
 Lightdash logo
What changed since the original post (2023): Lightdash now offers a Homebrew install for the CLI, and
lightdash logincan sign you in through your browser, so you no longer have to copy a token.
What do you need before you start?
- A dbt project that already runs against your warehouse (BigQuery, Snowflake, Databricks, Redshift, Postgres, Trino and others). New to dbt? Start with our dbt Core 5-minute guide.
- A Lightdash account. Sign up at lightdash.com. Lightdash is also open source and can be self-hosted.
- Homebrew (on a Mac) or Node.js and npm (on any system) to install the CLI.
Step 1: Install the Lightdash CLI
On a Mac with Homebrew:
brew tap lightdash/lightdash
brew install lightdash
On any system with npm:
npm install -g @lightdash/cli
If you don't have Node.js yet, install it with nvm (Node Version Manager):
curl -o- https://raw.githubusercontent.com/nvm-sh/nvm/master/install.sh | bash
nvm install --lts
Then check that Node.js and npm work:
node -v; npm -v;
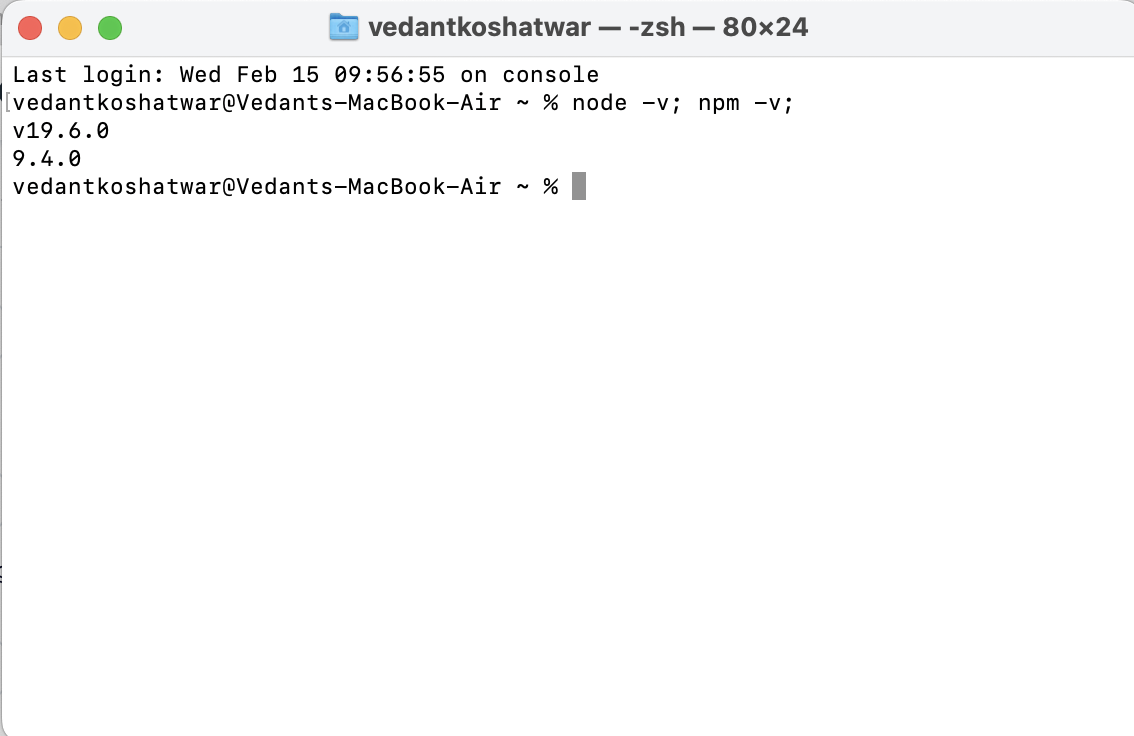 Terminal showing Node.js and npm versions
Your version numbers will be newer than in this screenshot.
Terminal showing Node.js and npm versions
Your version numbers will be newer than in this screenshot.
Step 2: Check that the CLI is installed
lightdash --version
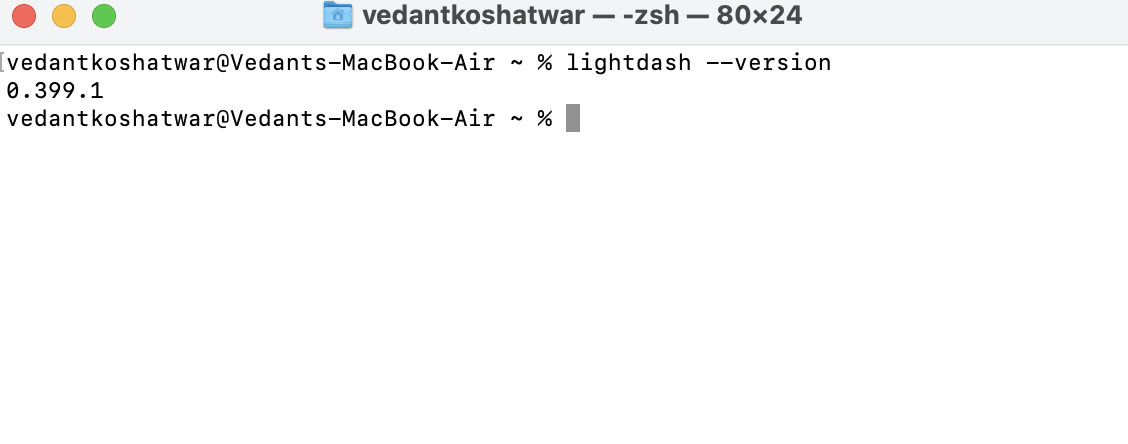 Terminal showing the output of lightdash --version
Any recent version number means the CLI is ready.
Terminal showing the output of lightdash --version
Any recent version number means the CLI is ready.
Step 3: Sign in to Lightdash
Go to your dbt project folder, then sign in:
cd path/to/your-dbt-project
lightdash login https://app.lightdash.cloud
This opens your browser so you can sign in. If you're on a server or a locked-down laptop, use a personal access token instead. Create one in Lightdash under Settings → Personal access tokens, then run:
lightdash login https://app.lightdash.cloud --token your-token-here
When you first set up Lightdash in the web app, it asks you to pick your warehouse. It then shows the exact commands for your account.
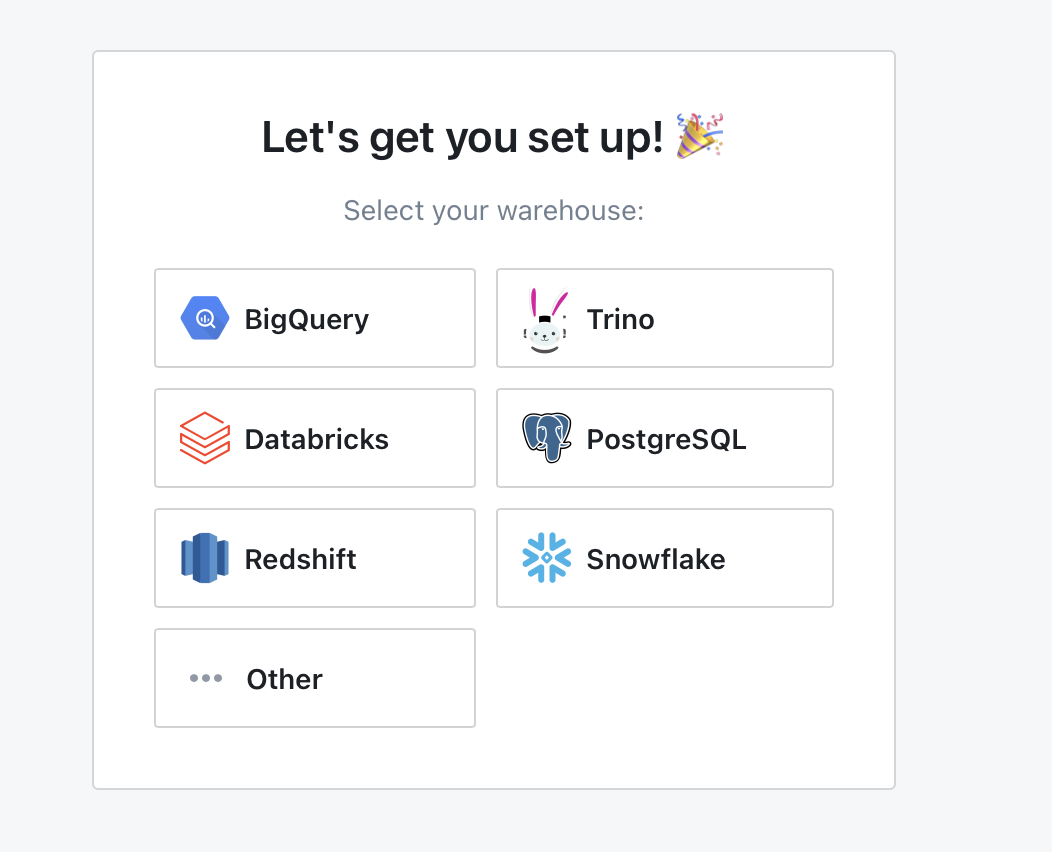 Lightdash setup screen asking you to select your warehouse
Pick the warehouse your dbt project uses.
Lightdash setup screen asking you to select your warehouse
Pick the warehouse your dbt project uses.
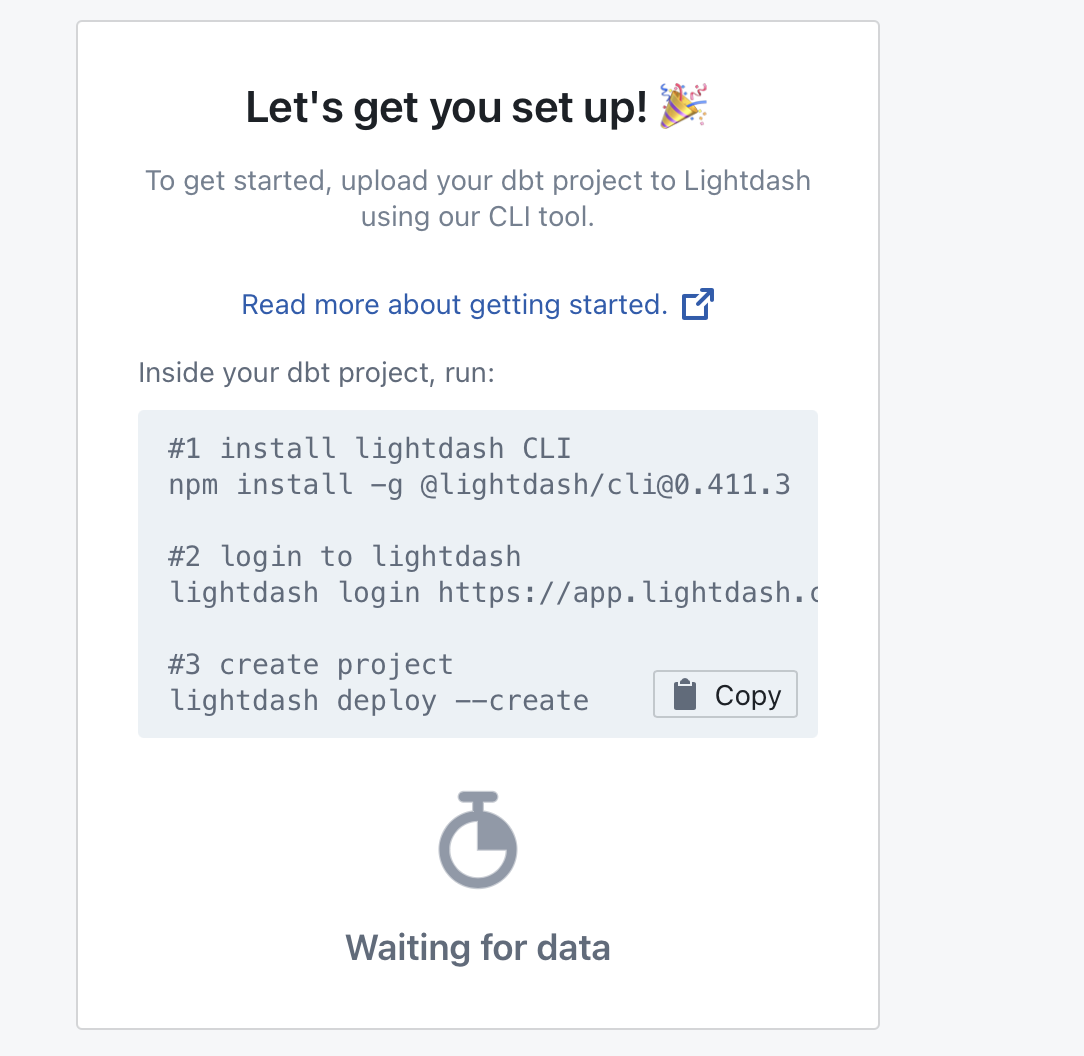 Lightdash setup screen showing the CLI commands to run
Lightdash shows the install, login and deploy commands for your account.
Lightdash setup screen showing the CLI commands to run
Lightdash shows the install, login and deploy commands for your account.
Step 4: Get your dbt project Lightdash-ready
Lightdash needs to know which columns in your dbt models you want to explore. This command writes those definitions into your dbt .yml files for you:
lightdash dbt run
Each column becomes a dimension you can group and filter by. Afterwards, you can add metrics (like sums, counts and averages) in the same .yml files.
Step 5: Deploy your first Lightdash project
lightdash deploy --create
This uploads your project to Lightdash. Open the link it prints, and you can start exploring tables and building charts and dashboards.
Common problems
- "command not found: lightdash": the CLI didn't install, or your terminal can't find it. Open a new terminal window and run
lightdash --versionagain. With npm, make surenpm install -gfinished without errors. - The deploy fails with a dbt error: run
dbt runordbt compilefirst to make sure your dbt project works on its own. - You can't sign in through the browser: use the
--tokenoption with a personal access token.
FAQ
Is Lightdash free? Lightdash is open source, so you can self-host it for free. Lightdash Cloud, the managed version, has paid plans. Check lightdash.com for current pricing.
Do I need dbt to use Lightdash? Yes. Lightdash is built around dbt and reads your models, dimensions and metrics from your dbt project.
Which warehouses does Lightdash support? BigQuery, Snowflake, Databricks, Redshift, PostgreSQL and Trino, among others.
What does the lightdash dbt run command do?
It runs your dbt models and adds Lightdash definitions (dimensions) for their columns to your .yml files, so they show up in Lightdash.
What to try next
Lightdash is the BI layer on top of dbt. Our other 5-minute guides cover the rest of the stack:
- Setup dbt Core on your machine in 5 minutes or less, to build the models Lightdash uses
- Setup Airbyte in 5 minutes, to load data into your warehouse
- Setup DuckDB in 5 minutes, to try SQL analysis on your laptop
- Modern Data Stack on your laptop, to see how it all fits together
Want help rolling out self-serve BI for your team? Talk to Newtuple.